
Chasing and Repousse
Chasing is the process of making a design on metal, one that is created from the front side of the workpiece. Repousse is done by pushing the metal up from the back. Let’s talk about these two techniques and how they can be used.
Either one of these techniques can be used alone or together. Metals that can be used for this process are copper, bronze, brass, sterling silver, yellow gold, along with a few others. Some tools used for these types of work are liners, setting punches, running punches, stamps, matting tools, and planishing tools, to name a few. These all do various things such as stamp images into the metal, soften edges, create edges or lines, or create all-over patterns or textures.
The technique of repousse was popular in the 16th-18th centuries in Europe and was used extensively during this time. Chasing was popular for silver decoration in Europe during the early 18th century and was even used in the United States during the second half of the century.
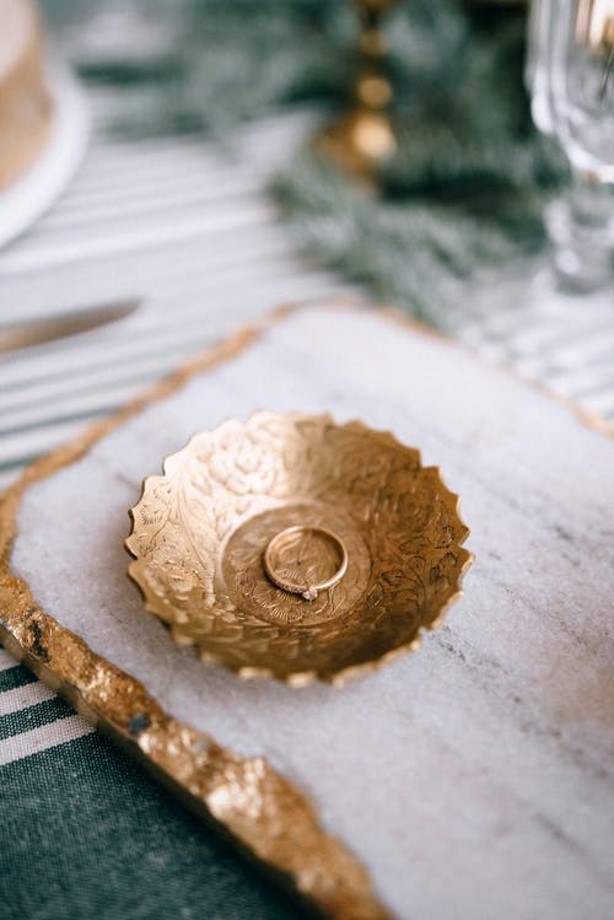
Both of these techniques are used to decorate your metal pieces whether you’re making cups, plates, or any other decorative item. This technique can be used by crafters and makers to add embellishments to their work and both techniques create some beautiful pieces. It is also used in the creation of some jewelry.
The steps are fairly simple if you have the right tools and are at least a little experienced with metalworking in some fashion. You must use a heat gun to heat up the pitch before pressing it into a pitch bowl. You will then prepare your design using a pencil, marker, or pen, and highlight the areas you mean to push out. Punching in the design comes next and this is where you will need your tools like your chisel punch and chasing hammer. Once you have your design, you will use your repousse hammer and punches to hammer the areas you have marked out. Once this is done you can remove it from the pitch and clean it. Using your marking tool of choice, redraw the outline of your design and then use your tools again to push the metal farther and add any background patterns you may want. Once finished, anneal your piece and quench it. Then even out the sides, cut off the edges, and file to finish.
If a class is available on something like this I would recommend taking it before deciding to purchase all the tools if you are simply looking for a hobby. You can make all kinds of things using these techniques and it can be a fun way to create some nice decorative pieces for your home, as well.
Interested in purchasing KAMA products?
Questions?
Contact Us @ 865-671-7682